How to Resole Your Birkenstocks: A DIY Guide for Extending Their Lifespan
By birkenstock | Published: 2026-06-13
Category: How-to Guides
Learn how to resole your Birkenstocks with this DIY guide. Save money, extend lifespan, and keep your favorite sandals, clogs, and shoes comfortable for years.
Birkenstocks are an investment in comfort, support, and timeless style. With proper care, a single pair can last a decade or more. But even the most durable cork and rubber soles eventually wear down. Instead of tossing your beloved sandals or clogs, consider resoling them yourself. DIY Birkenstock repair is not only cost-effective but also environmentally friendly and deeply satisfying. This guide will walk you through every step of a Birkenstock sole replacement, from identifying when it's time to resole to sourcing the right parts and performing the repair at home.
Why Resole Your Birkenstocks?
The Birkenstock footbed is designed to mold to your unique foot shape over time. That custom contour is irreplaceable. When you replace only the outsole, you preserve that personalized arch support. Extending Birkenstock lifespan by resoling also saves you money — a resole kit costs a fraction of a new pair. And you reduce waste, keeping perfectly good cork and leather out of landfills.
When to Resole: Signs It's Time
Check your soles every few months. Key indicators include:
- Smooth tread: The rubber pattern is worn flat, especially at the heel and ball of the foot.
- Visible cork: The cork footbed is exposed or cracked near the edge of the sole.
- Uneven wear: One side of the sole is significantly thinner than the other.
- Slipping: Your foot slides inside the shoe because the sole no longer grips the ground.
If you catch wear early, a resole is straightforward. Waiting until the cork crumbles can damage the footbed beyond repair.
Tools and Materials You'll Need
For a successful DIY Birkenstock repair, gather these items:
- Replacement outsoles (Birkenstock brand or high-quality third-party)
- Contact cement (e.g., Barge or Birkenstock-approved adhesive)
- Sandpaper (medium and fine grit)
- Rubbing alcohol or acetone for cleaning
- Clamps or heavy books
- Utility knife or sharp scissors
- Optional: cork filler for minor cracks
Choosing the Right Replacement Sole
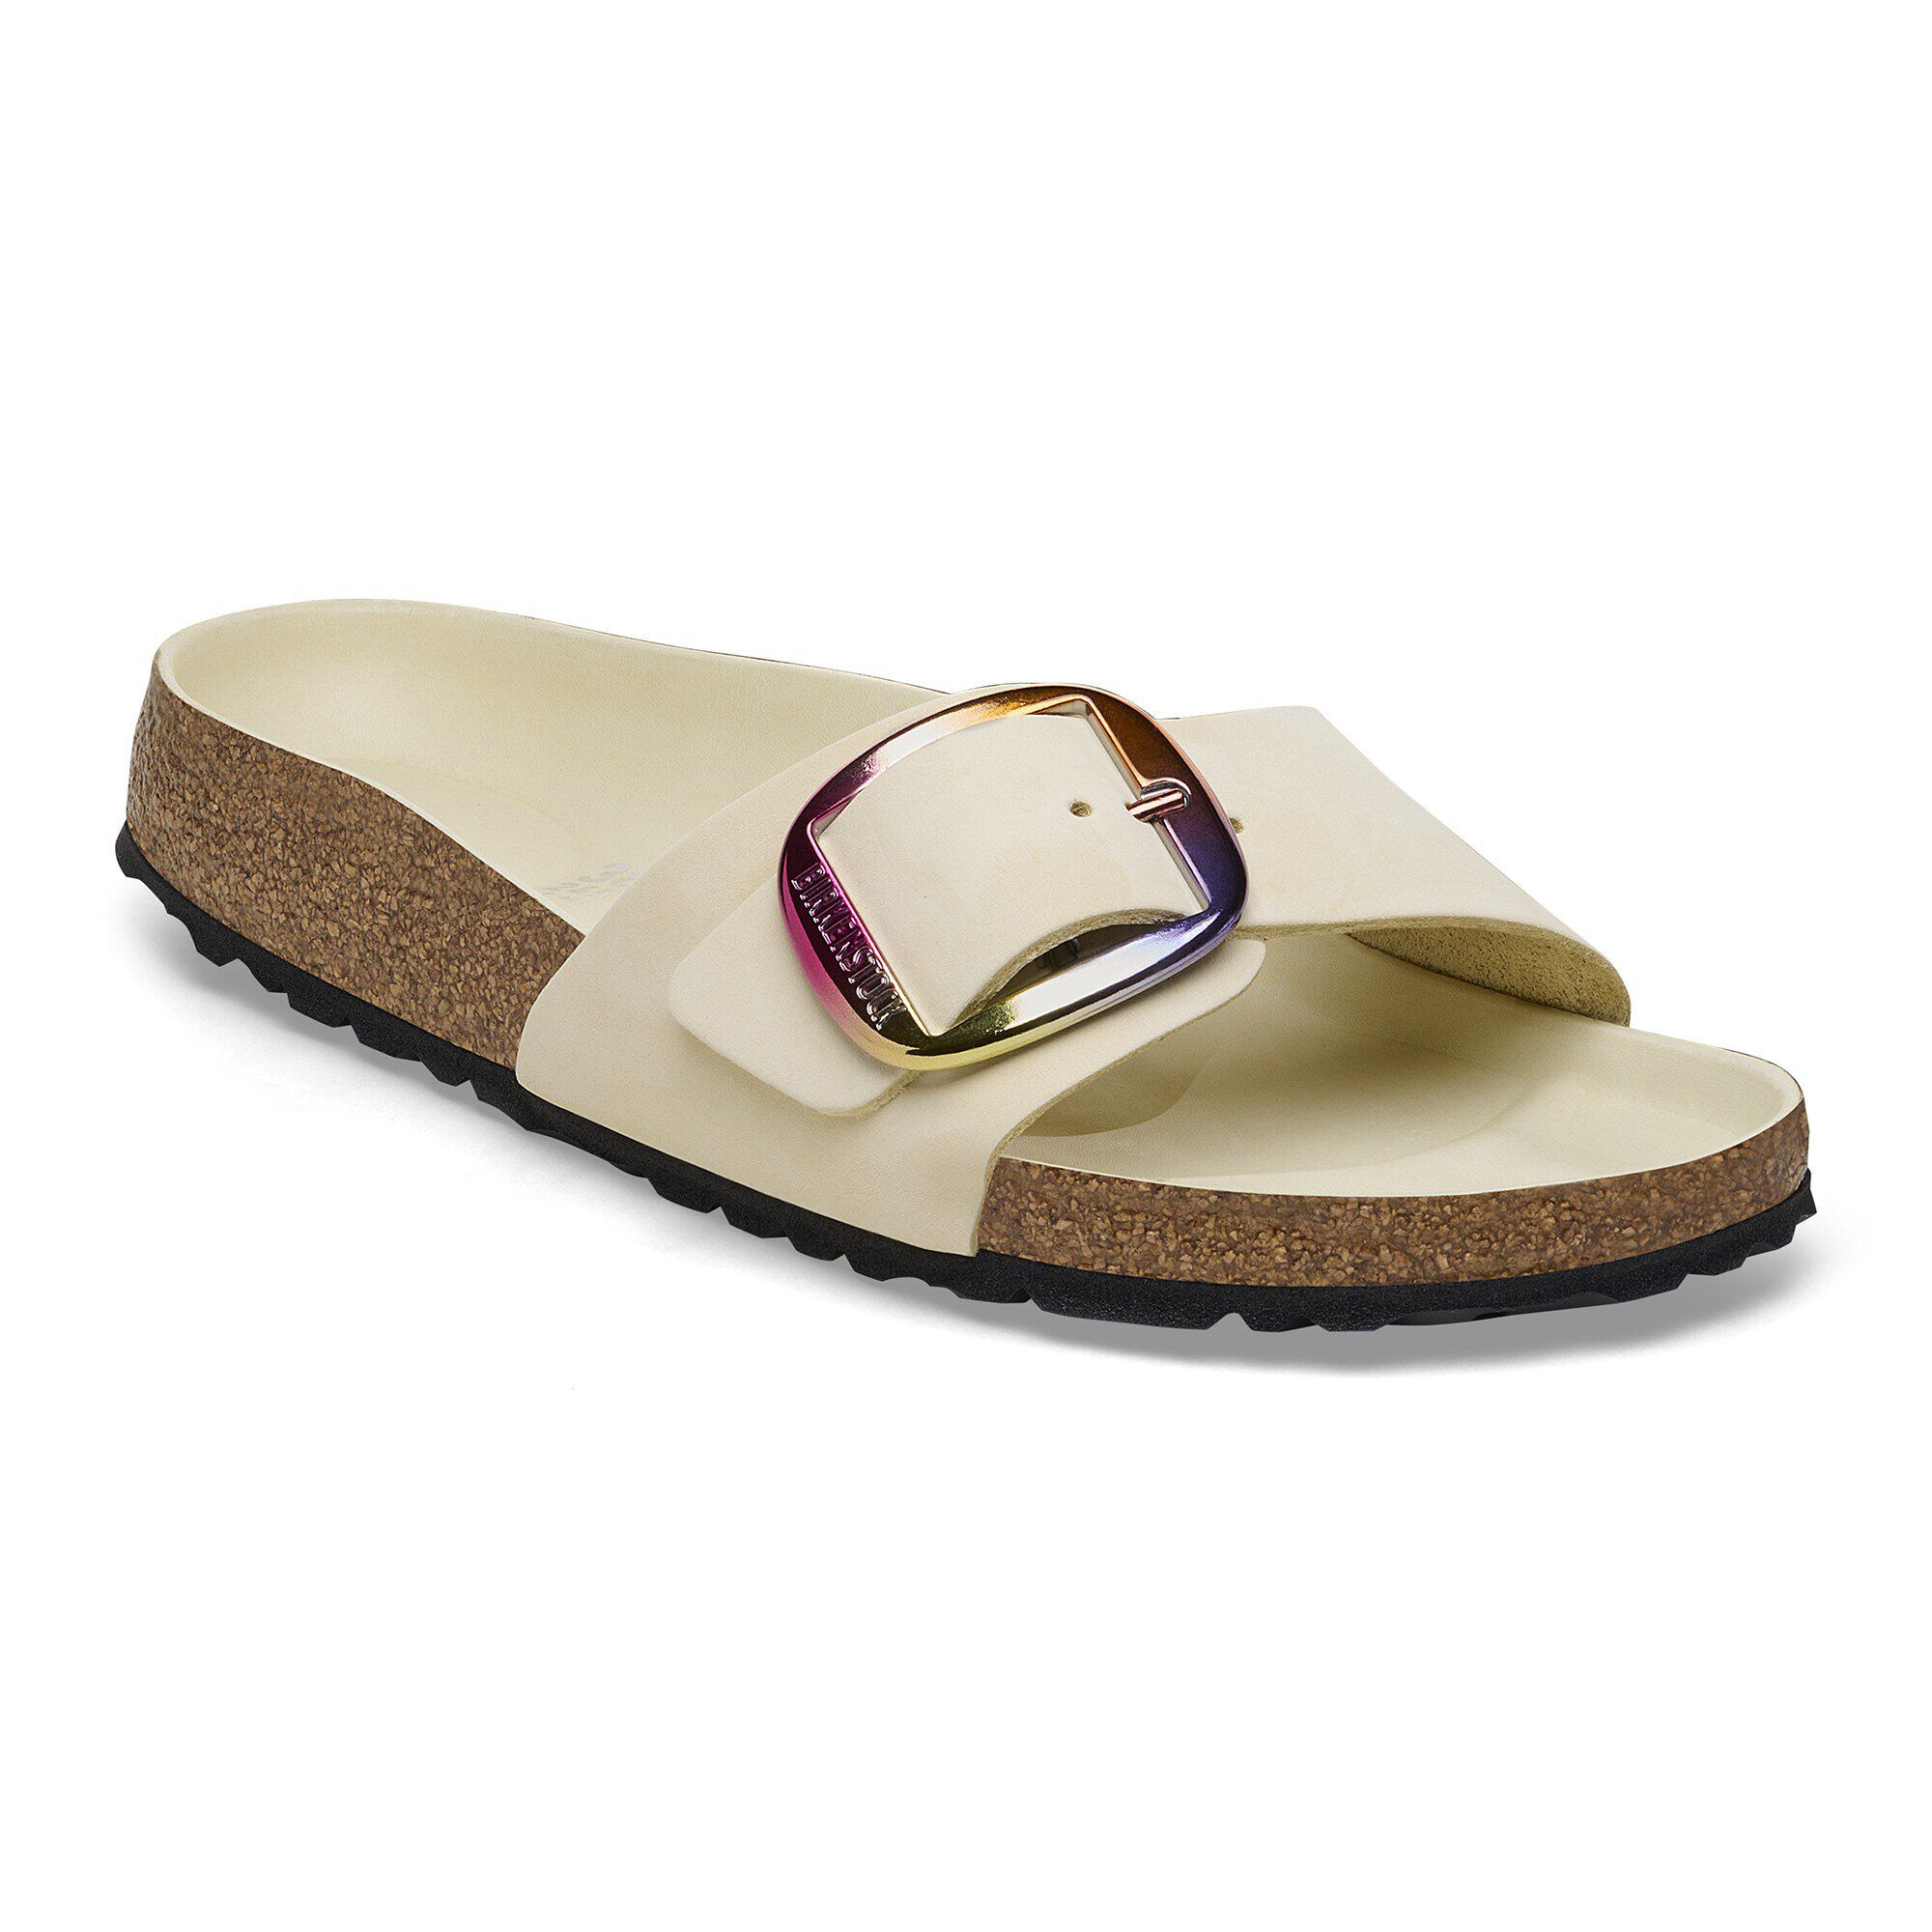
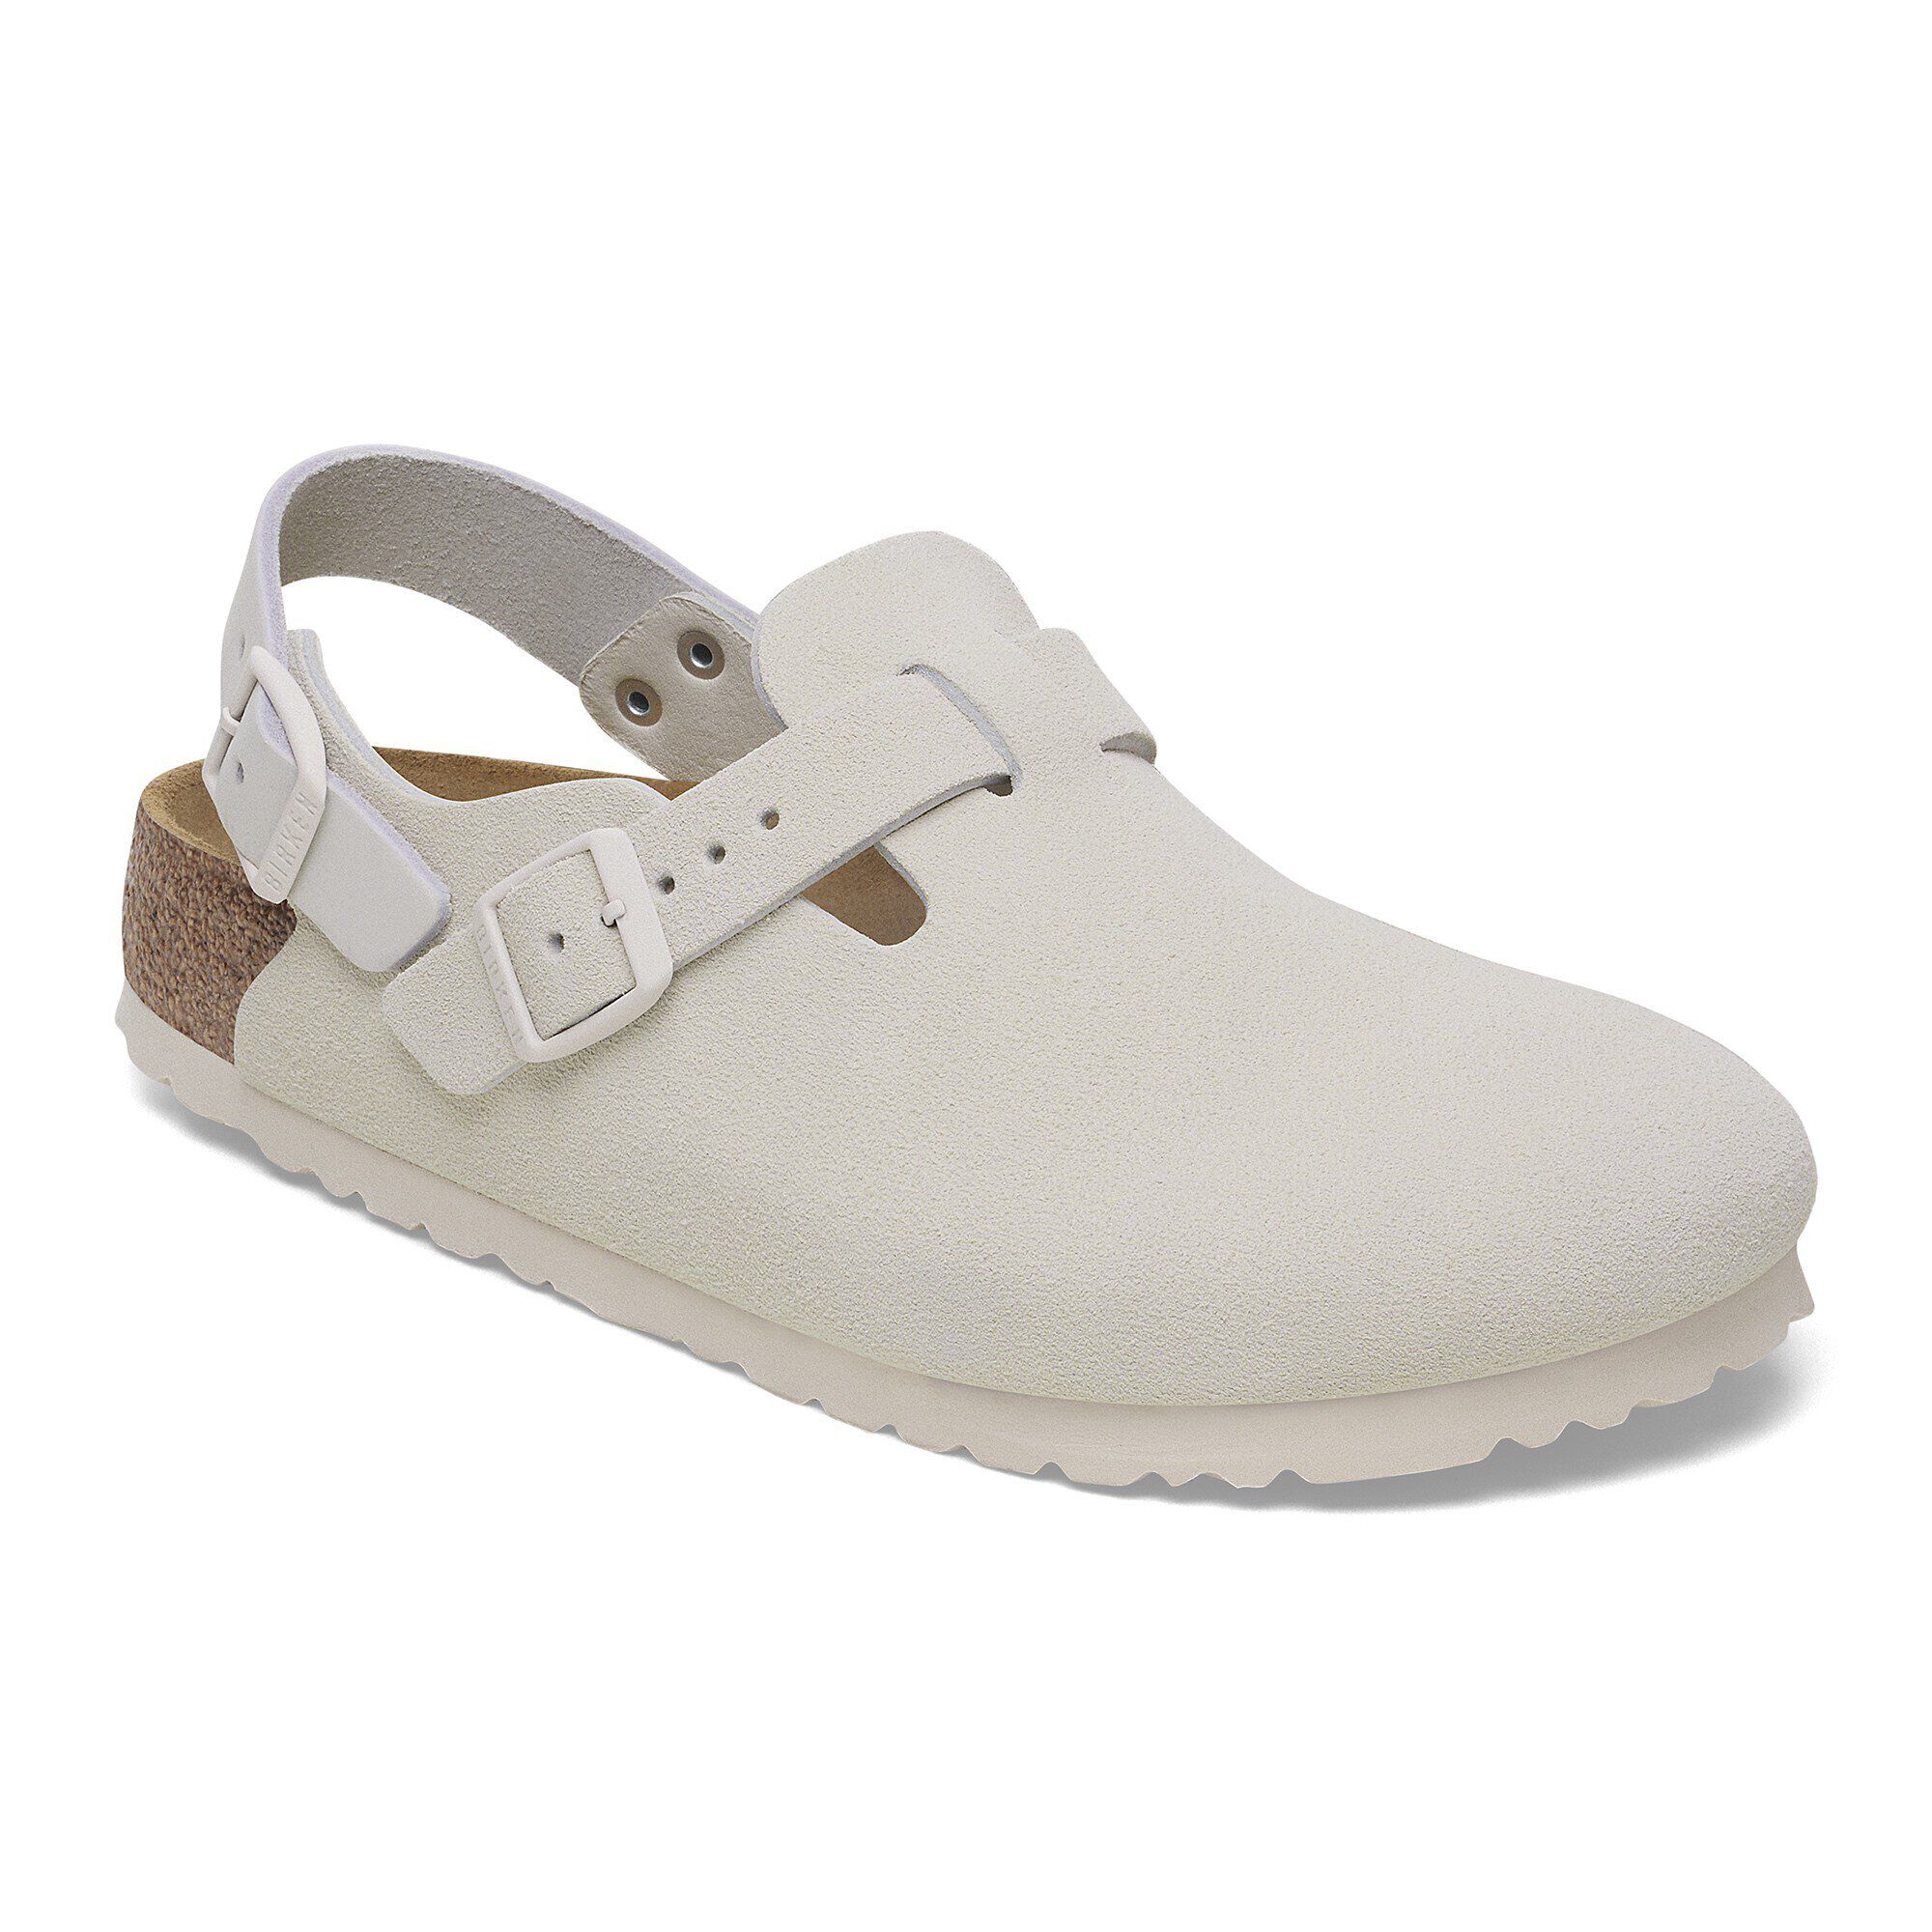
Birkenstock offers genuine replacement soles for many models. For classic two-strap sandals like the Arizona Big Buckle Natural Leather Patent, you'll need a standard Birkenstock sole — either the original rubber or a softer EVA version. For closed-toe styles like the Boston Mixed Leather, the sole shape is slightly different, so order a model-specific replacement. You can also find universal soles that you trim to fit, but genuine Birkenstock parts guarantee a perfect match.
Step-by-Step Resoling Process
Step 1: Remove the Old Sole
Gently pry the worn sole away from the cork footbed starting at the heel. Use a flathead screwdriver or a putty knife. Work slowly to avoid tearing the cork. If the adhesive is stubborn, apply heat with a hair dryer on low for 30 seconds to soften it. Remove all old rubber residue and any remaining glue.
Step 2: Clean and Prepare the Cork
Wipe the exposed cork with rubbing alcohol to remove dirt and oils. Lightly sand the surface with medium-grit sandpaper to create a rough texture for the new adhesive to bond. Wipe away dust with a clean cloth. If you see small cracks, fill them with cork filler and let it dry fully before sanding smooth.
Step 3: Test-Fit the New Sole
Place the new sole against the footbed without glue. Ensure it aligns with the heel and toe. Most replacement soles have a slight overhang — that's normal. Mark any areas where the sole is too wide or long with a pencil. Trim the sole slightly with a utility knife if needed, but be conservative. You can always trim more later.
Step 4: Apply Contact Cement
Apply a thin, even layer of contact cement to both the cork footbed and the back of the new sole. Follow the adhesive manufacturer's instructions — typically, you'll let it dry for 10–15 minutes until tacky but not wet. Do not press the pieces together until the glue is ready.
Step 5: Bond the Sole
Carefully align the sole with the footbed and press firmly from heel to toe. Use a rolling pin or your hands to eliminate air bubbles. Clamp the shoe or press it under heavy books for at least 4–6 hours (overnight is best). Avoid walking on the shoes for 24 hours to allow the bond to cure fully.
Step 6: Trim and Finish
Once the glue is set, use a utility knife to trim any excess rubber flush with the cork edge. Sand the edges with fine-grit sandpaper for a smooth, finished look. Wipe with a damp cloth to remove dust. Your Birkenstocks are ready to wear again!
Common Mistakes to Avoid
- Skipping the sanding step: Adhesive won't stick to smooth cork. Always rough it up.
- Using too much glue: Excess cement can seep out and create a mess. Thin layers work best.
- Rushing the drying time: Contact cement needs time to cure. Impatience leads to peeling soles.
- Ignoring cork damage: If the cork is cracked or crumbling, resoling alone won't fix it. Consider a full footbed replacement or professional repair.
Can You Resole All Birkenstock Styles?
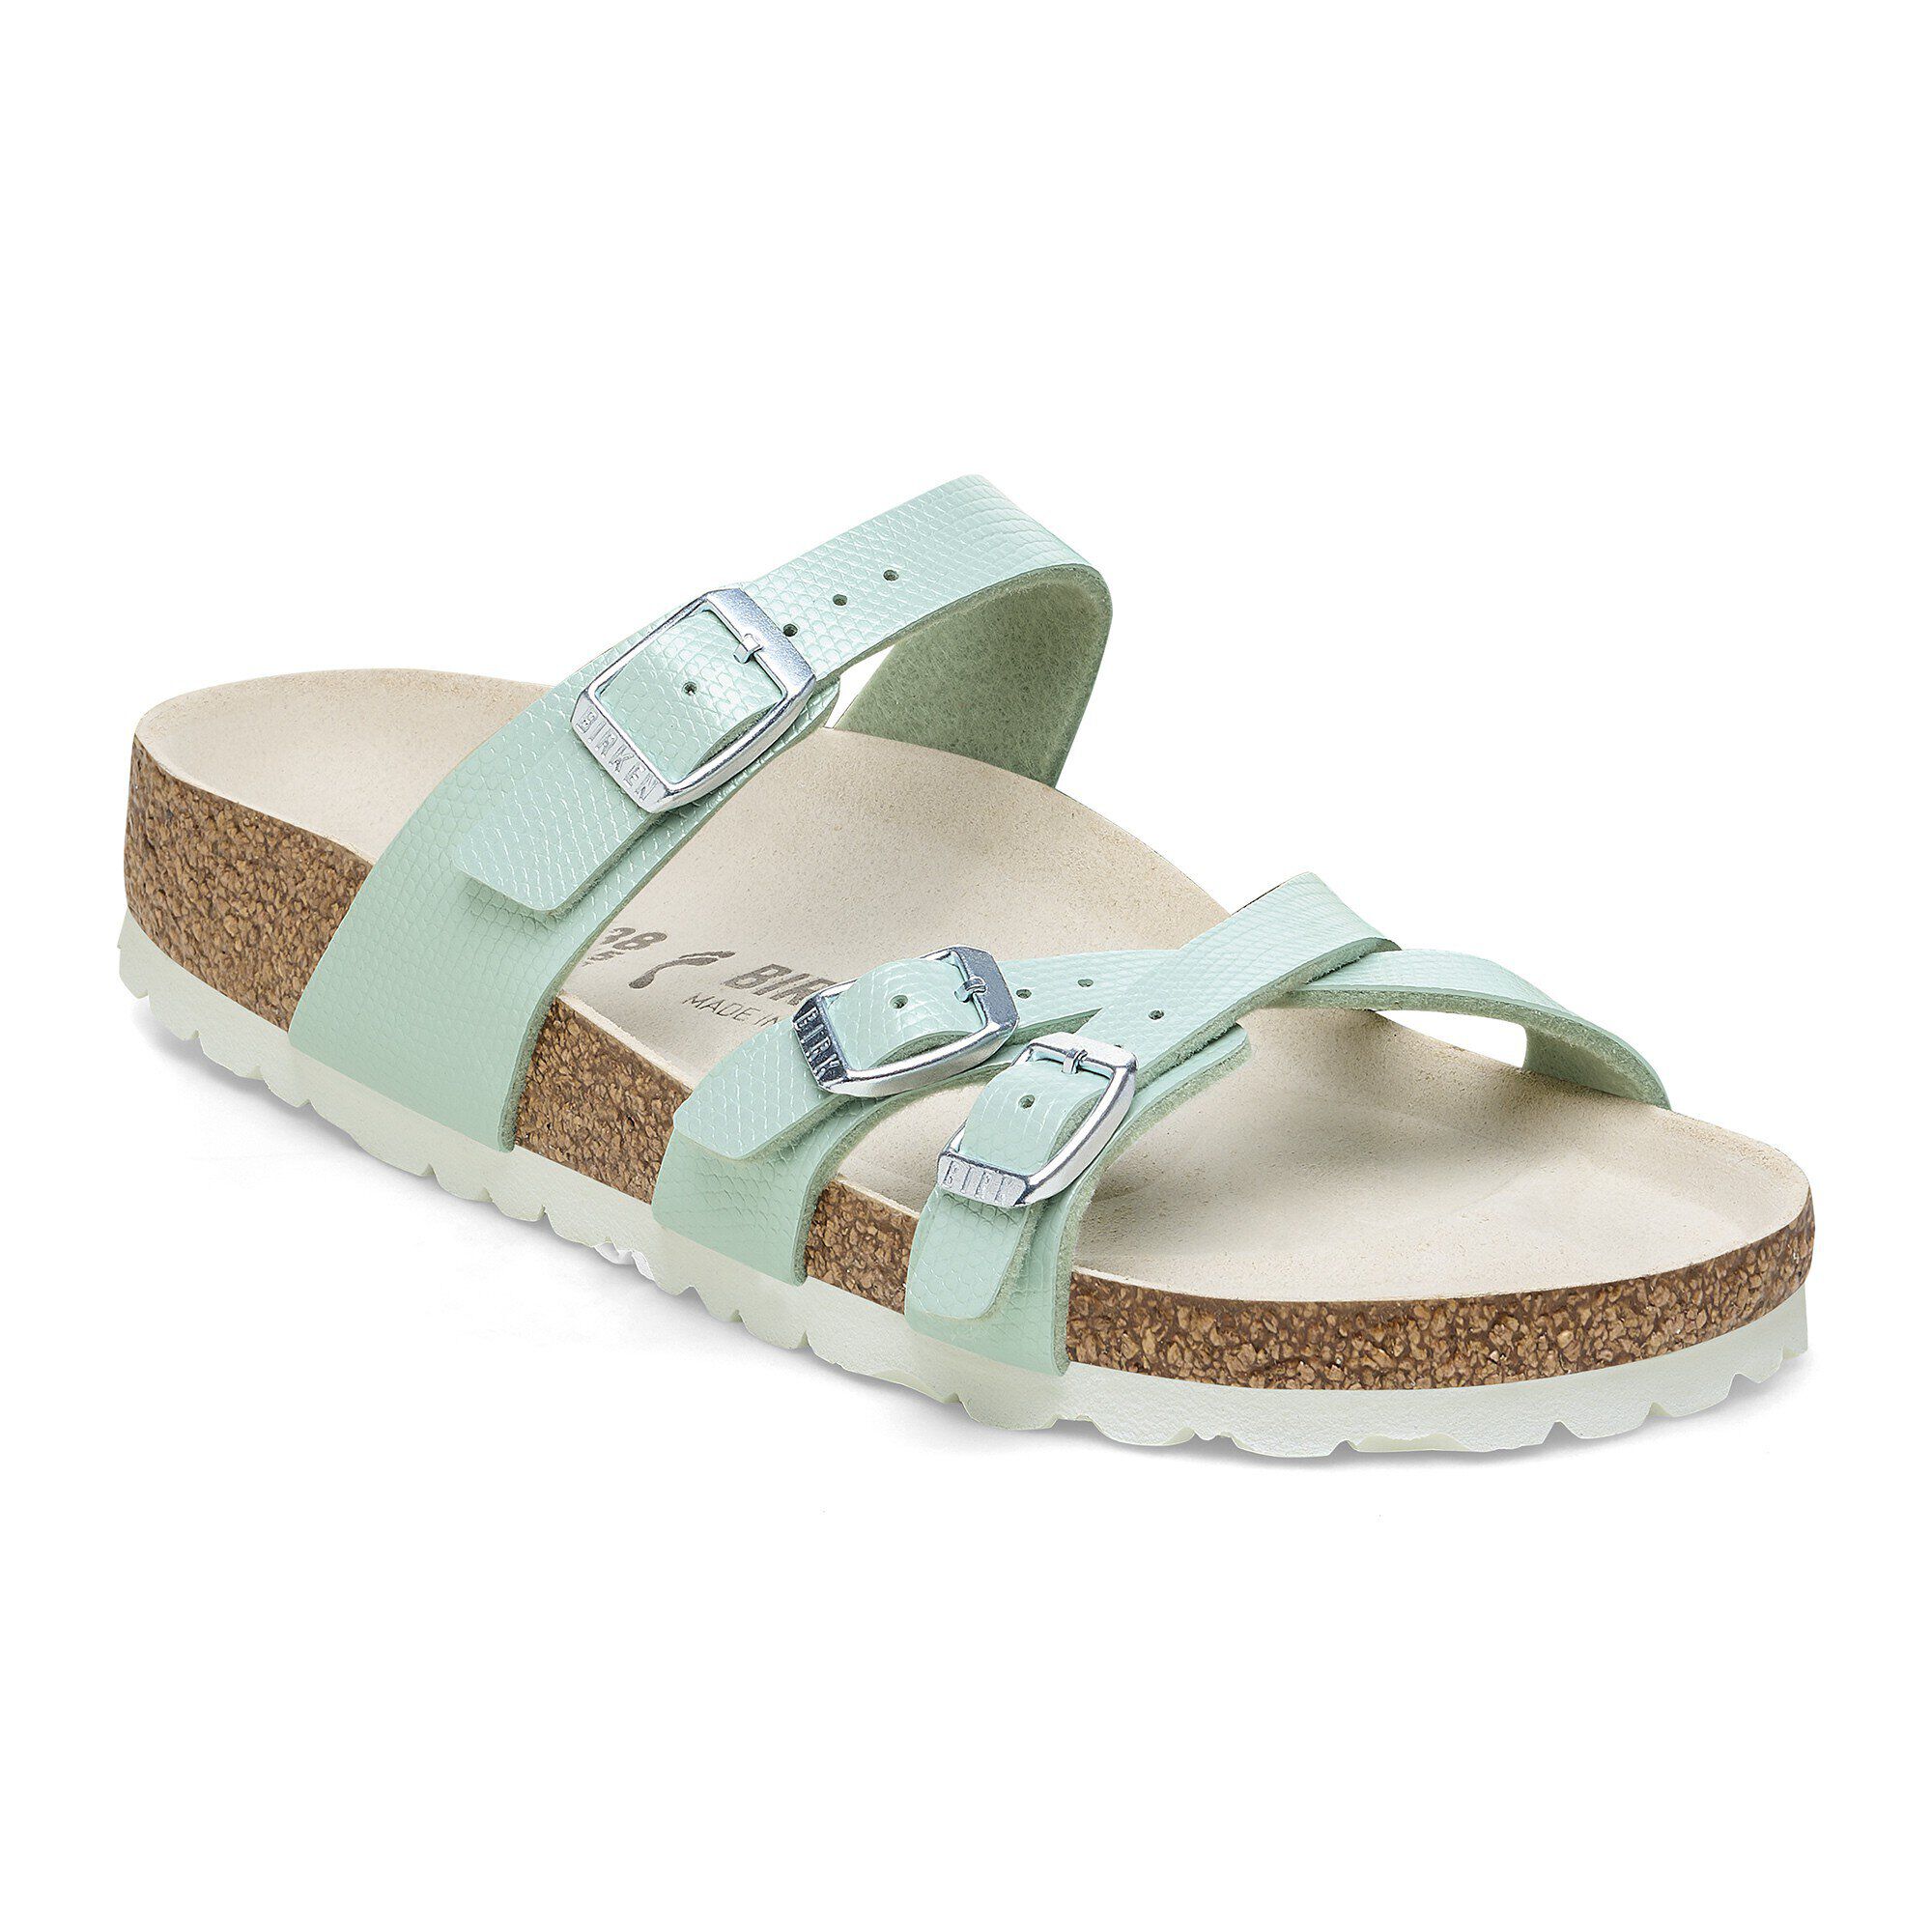
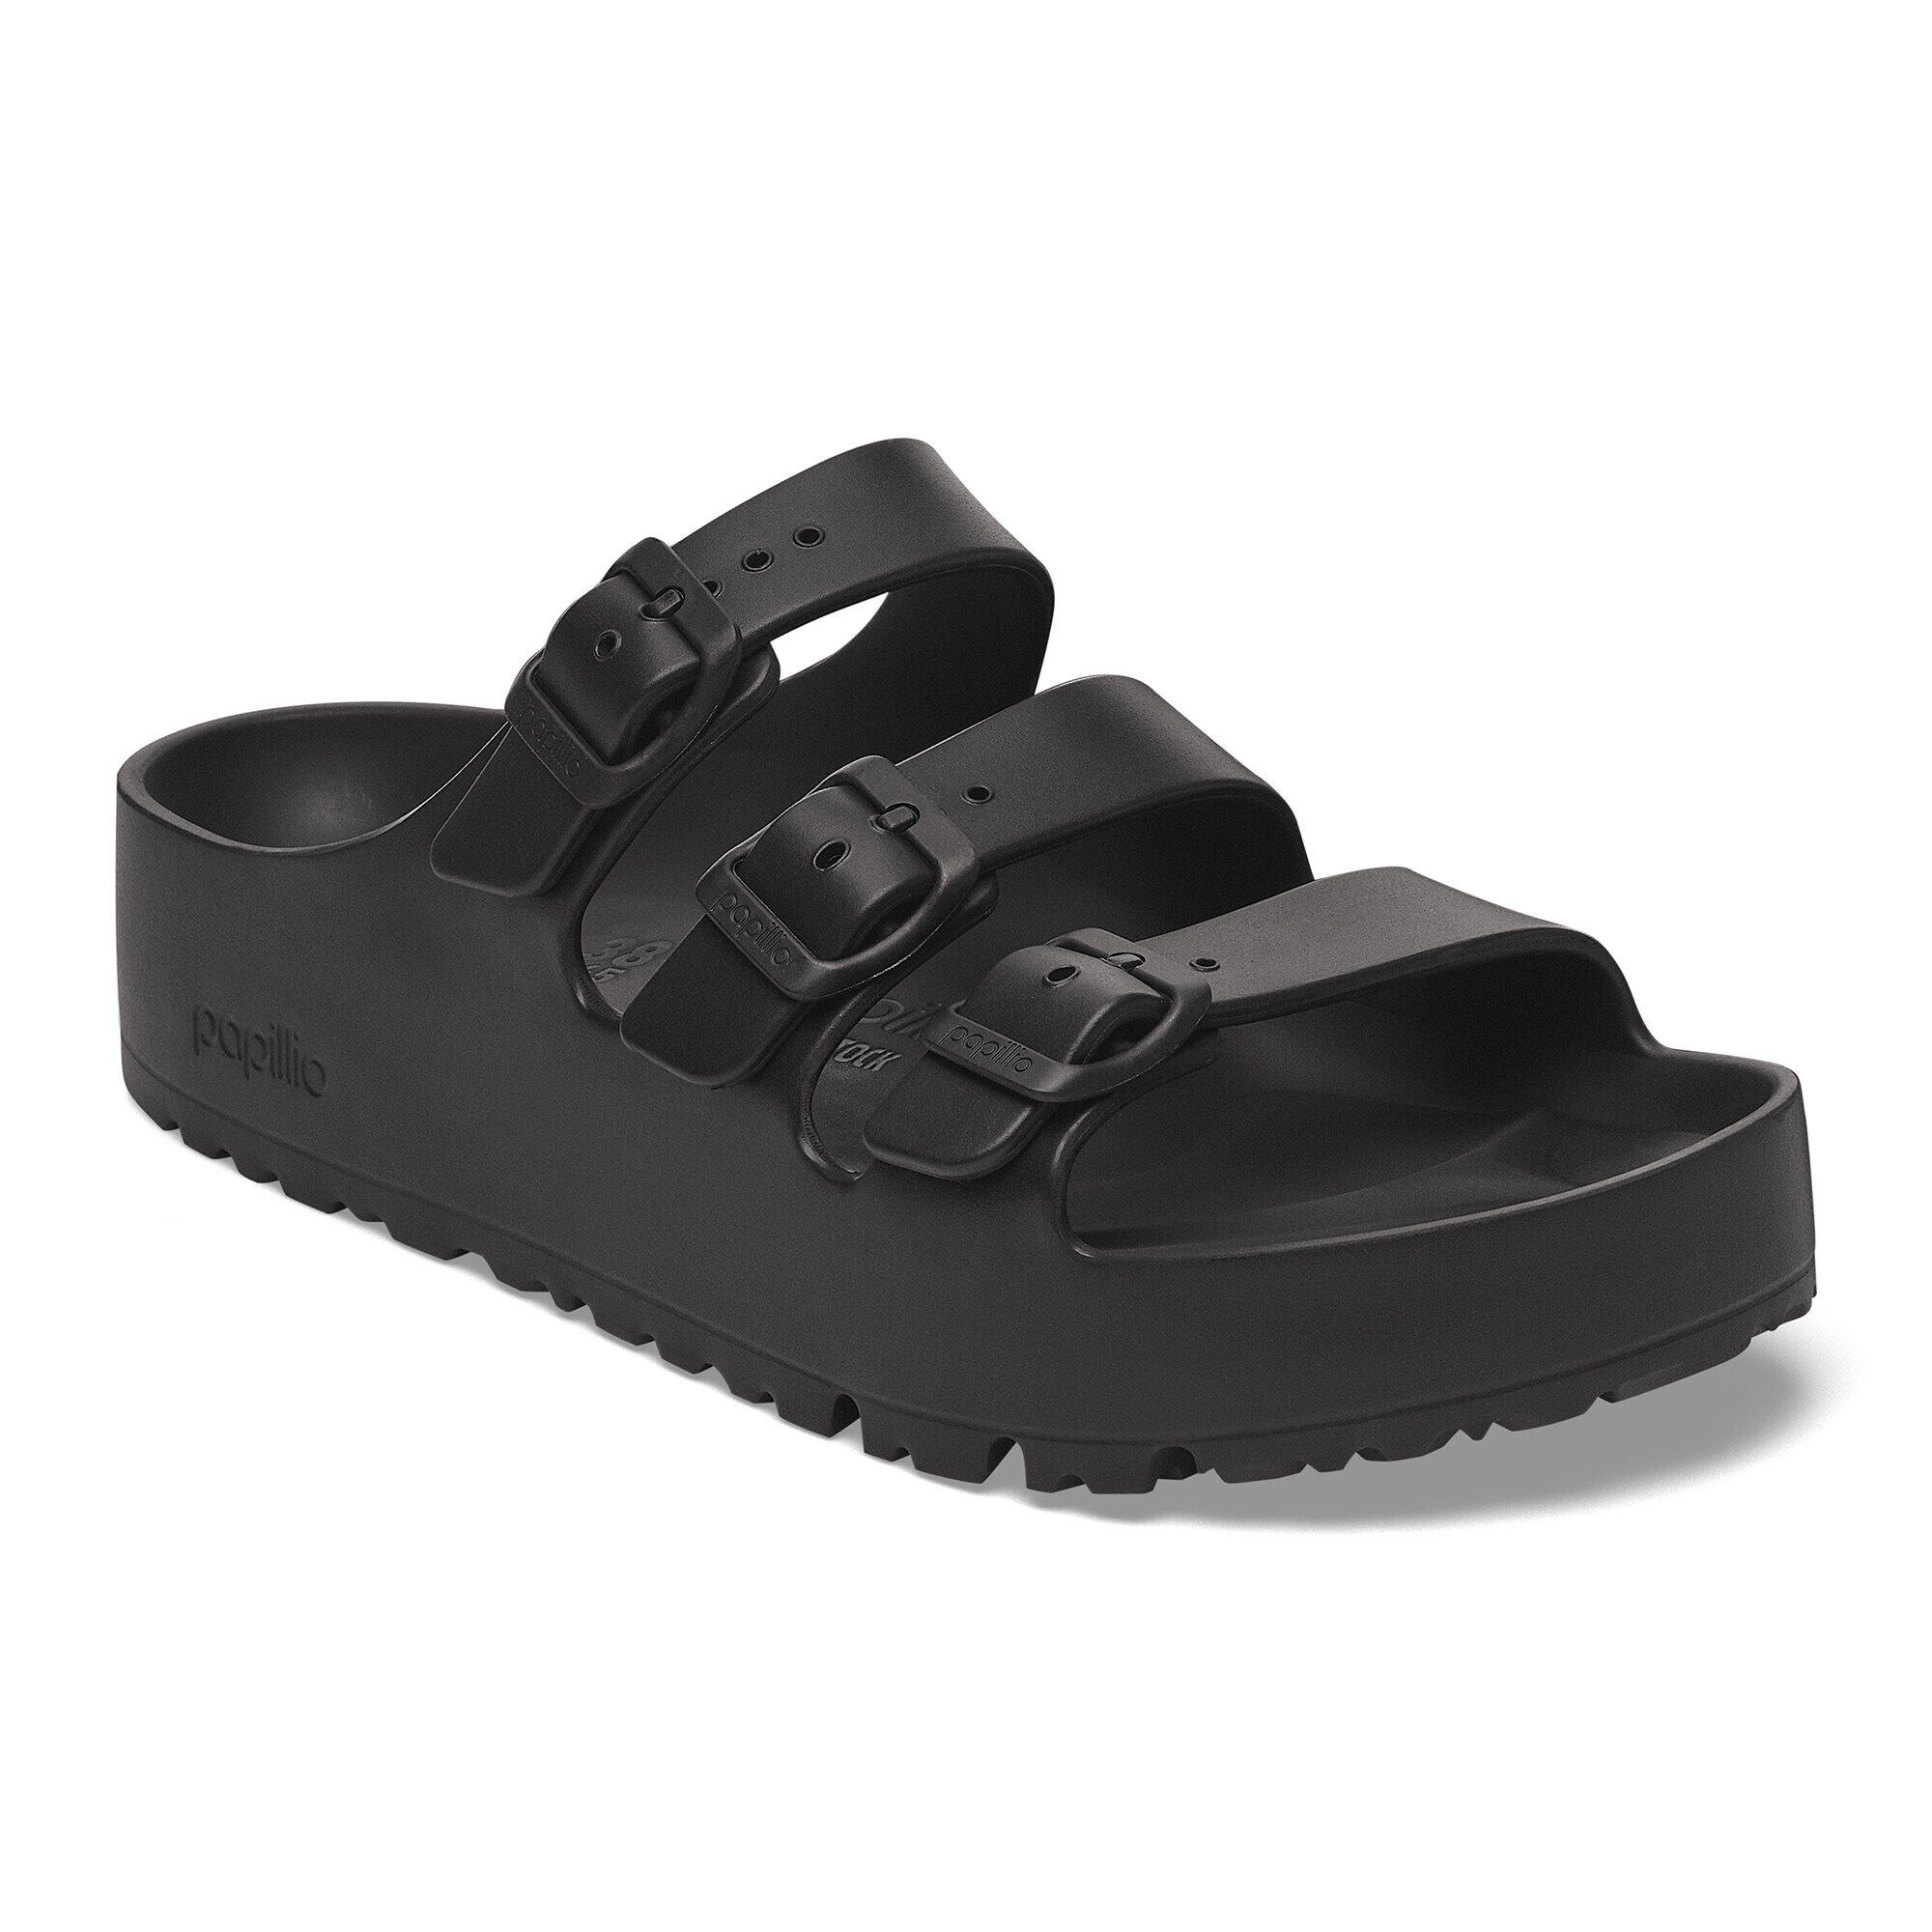
Most Birkenstock shoes with a separate rubber outsole can be resoled. This includes classic sandals like the Arizona and Florida, clogs like the Boston and Tokio, and even some sneakers and boots. However, styles with a molded one-piece sole — such as the Arizona Stealth Buckle EVA — cannot be resoled because the sole and footbed are fused. Similarly, many shearling-lined slippers and water-friendly sandals have non-replaceable outsoles. Check the construction before you start.
Professional Resoling vs. DIY
DIY resoling is ideal for basic wear and tear. If your cork footbed is also damaged, consider professional repair. Many cobblers specialize in Birkenstock restoration and can replace both the sole and the cork layer. For high-end patent leather styles like the Florida Fresh Natural Leather Patent, a pro can ensure the delicate finish stays pristine. But for most everyday Birkenstocks, DIY is straightforward and rewarding.
How to Extend the Life of Your Resoled Birkenstocks
After resoling, adopt these habits to maximize longevity:
- Rotate pairs: Alternate between two or more pairs to reduce wear on any one shoe.
- Avoid water: Cork is sensitive to moisture. Use a water-repellent spray and avoid wearing your Birkenstocks in heavy rain.
- Store properly: Keep them away from direct heat and sunlight, which can dry out the cork.
- Clean regularly: Brush dirt off the sole and footbed. Use a damp cloth for leather uppers, and condition them every few months.
When It's Time to Replace Instead of Resole
Resoling isn't always the answer. If the cork footbed is severely cracked, crumbling, or has lost its arch support, a new pair is the better option. Also consider replacing if the upper leather is torn or the buckles are broken. In those cases, investing in a fresh pair gives you renewed comfort and style.
Ready to give your favorite Birkenstocks a second life? Start with a quality replacement sole and follow the steps above. For a classic style that's built to last, explore the Boston Mixed Leather — a versatile clog that pairs timeless design with the durable cork footbed you love. Whether you resole or refresh, your feet will thank you.